Easy Homemade Sourdough Sandwich Bread Recipe
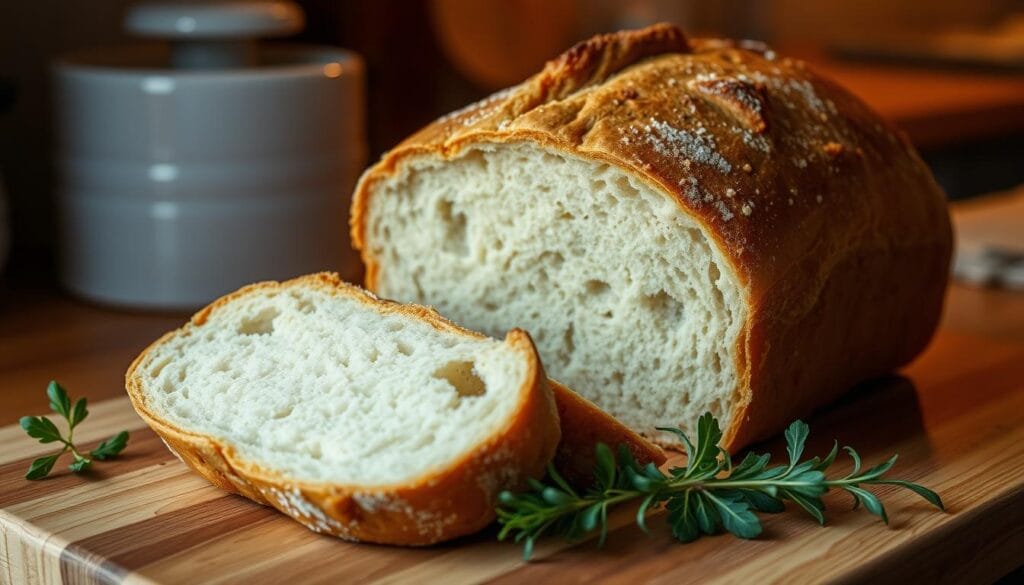
Take your sandwiches to the next level with this homemade sourdough sandwich bread. It’s easy to make and results in a soft, fluffy loaf. It’s perfect for your favorite sandwiches or a tasty breakfast toast.
This sourdough bread has a unique tang and a crispy crust. It’s made with simple ingredients like flour, olive oil, honey, and a sourdough starter. You can make an artisanal loaf that’s as good as bakery bread.
While it needs some planning ahead, the effort is worth it. With patience and an active starter, you’ll get a bread that makes every meal special. Enjoy the fresh taste in every bite!

Table of Contents
Understanding Sourdough Sandwich Bread Recipe
Making sourdough sandwich bread is more than just mixing ingredients. It’s about the fermentation process that makes the dough flavorful and nutritious. Unlike regular bread, sourdough uses a starter to rise and leaven.
What Makes Sourdough Different
Sourdough uses a fermented dough starter instead of commercial yeast. This starter has wild yeasts and bacteria that give the bread its unique taste. This is something commercial yeast can’t match.
Benefits of Homemade Sourdough
Homemade authentic sourdough has many benefits. You control the ingredients, so it’s free from additives. The fermentation process also makes the bread more nutritious and easier to digest.
Key Characteristics of Perfect Sandwich Bread
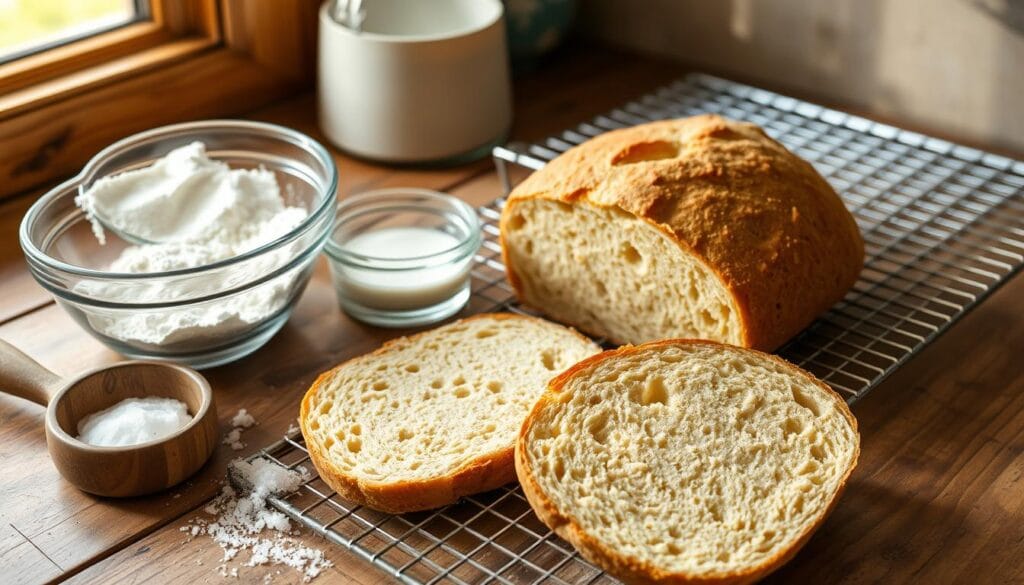
The perfect bread making sandwich loaf is soft yet structured. It has a tight crumb to hold fillings and a soft interior. The crust should be golden and crisp, keeping the bread moist and flavorful.
| Ingredient | Weight (g) | Percentage |
|---|---|---|
| Tangzhong (Whole wheat flour) | 74 | 8.0% |
| Tangzhong (Whole milk) | 296 | 32.0% |
| Medium-protein bread flour or All-purpose flour | 693 | 75.0% |
| Whole wheat flour | 157 | 17.0% |
| Olive oil | 65 | 7.0% |
| Honey | 37 | 4.0% |
| Water | 453 | 49.0% |
| Salt | 17 | 1.8% |
| Sourdough starter | 10 | 1.1% |
With the right fermented dough and a good recipe, you can make perfect sourdough sandwich bread. It’s delicious and good for you.
Essential Ingredients and Equipment
To make the perfect sourdough sandwich bread, you need a few key ingredients and tools. The recipe uses 8 simple ingredients. It focuses on natural and real components over store-bought ones.
The recipe’s heart is an active sourdough starter. It replaces commercial yeast. Other key ingredients are unbleached all-purpose flour, warm water, olive oil, honey, and salt. The recipe also calls for a specific ratio of milk to water for a softer, sweeter crumb.
You’ll need a 9″ x 5″ loaf pan for shaping the dough. A stand mixer is optional but can help with mixing and kneading. Useful tools include a dough whisk or spatula, a kitchen scale, and a bench scraper. A proofing basket and baking stone can also improve the bread’s texture and crust.
Using the right bread making tools is crucial for success. Accurate measurements and proper equipment lead to consistent results. This way, you can make the perfect sourdough sandwich bread every time.
| Ingredient | Amount |
|---|---|
| Unbleached All-Purpose Flour | 500 grams |
| Warm Water | 160 grams |
| Whole Milk | 100 grams |
| Active Sourdough Starter | 100 grams |
| Olive Oil | 20 grams |
| Honey | 15 grams |
| Salt | 10 grams |
The recipe also suggests using a Kitchen Aid 4.5qt mixer or a Bosch mixer. These mixers can handle larger batches of dough. They can even make up to 4 loaves at once. Choosing the right mixer can greatly improve your bread baking efficiency and scalability.
Preparing Your Sourdough Starter
Starting with a healthy sourdough starter is key to making great sourdogh bread. This starter, or levain, is the base for your homemade sourdough sandwich bread. Knowing how to feed it, recognizing when it’s active, and keeping it healthy will help you make great bread.
Feeding Schedule
Feed your sourdough starter about 12 hours before you mix the dough. Use a 1:4:4 ratio of starter:flour:water for a slow rise. For a quicker rise, try a 1:1:1 ratio.
Signs of Active Starter
An active starter will double in size and have a bubbly, foamy top. This shows the yeast and bacteria are working well, ready to make your bread rise.
Starter Maintenance Tips
- Feed your starter regularly, once or twice a day, to keep it healthy.
- Keep it in the fridge between uses to slow down fermentation and reduce feeding.
- Being consistent with feeding and keeping the right temperature is key for a strong starter.
By following these tips, you’ll have a strong sourdough starter. This will help you make delicious homemade bread.
Sourdough Sandwich Bread Recipe
Take your sandwiches to the next level with this sourdough bread recipe. It’s made with natural ingredients for a soft, tasty crumb. It’s perfect for avocado toast or grilled cheese. Enjoy the taste of artisanal sourdough in your kitchen.
To make this sourdough sandwich bread, you’ll need:
- 50g active sourdough starter
- 275g water
- 60g olive oil
- 1 tablespoon honey
- 500g all-purpose flour
- 10g sea salt
Mix all ingredients in a big bowl until a shaggy dough forms. Let it rest for 1 hour. Then, knead it for 8-10 minutes by hand or in a mixer. The dough should be smooth and elastic.
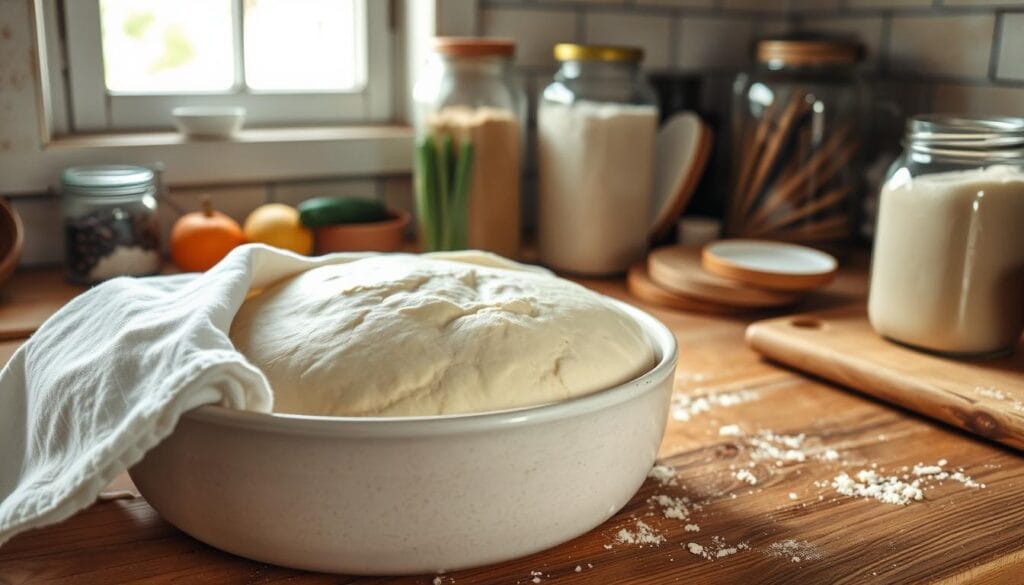
Put the dough in a greased bowl and cover it for 10-12 hours. After, shape it into a loaf and put it in a greased pan. Cover it and let it proof for 2-3 hours.
Preheat your oven to 375°F (190°C). Bake the bread for 45-50 minutes. It should be golden brown and have an internal temperature of 190°F.
Enjoy your sourdough sandwich bread with your favorite toppings. Or let it cool completely before slicing. This recipe makes one delicious loaf that will make your lunches better and your taste buds happy.
| Metric | Imperial |
|---|---|
| Prep Time: 8 hours | Prep Time: 8 hours |
| Total Mix Time: 12-17 minutes | Total Mix Time: 12-17 minutes |
| Baking Time: 30 minutes | Baking Time: 30 minutes |
| Total Rise Time: 4-7 hours | Total Rise Time: 4-7 hours |
| Bread Flour: 500 grams | Bread Flour: 17.6 oz |
| Active Sourdough Starter: 100 grams | Active Sourdough Starter: 3.5 oz |
| Water: 260 grams | Water: 9 oz |
| Salt: 10 grams | Salt: 0.35 oz |
| Sugar: 20 grams | Sugar: 0.7 oz |
| Butter: 2 Tbsp + extra for brushing | Butter: 2 Tbsp + extra for brushing |

This sourdough sandwich bread recipe is a labor of love. But the result is worth it. Enjoy the deep flavor and soft texture of homemade bread. Make your meals better with this artisanal sourdough bread recipe today!
Mixing and Kneading Techniques
Learning to mix and knead is key for perfect sourdough sandwich bread. You can choose to do it by hand or use a stand mixer. Knowing the right techniques can greatly improve your dough’s texture and rise.
Hand Mixing vs. Stand Mixer Method
Hand mixing is perfect for those who love the feel of making bread. Start by mixing all ingredients with a dough whisk or spatula until you get a shaggy dough. Then, knead the dough on a floured surface for 8-10 minutes until it’s smooth.
On the other hand, a stand mixer with a dough hook can knead for you. Just set it to low speed and knead for 8-10 minutes, stopping to scrape the bowl sides now and then.
Proper Dough Consistency
The dough’s consistency is crucial, no matter how you mix it. It should be slightly tacky but not too sticky. When you stretch it, it should pull thin without tearing. If it’s too dry, add water a tablespoon at a time. If it’s too sticky, add flour a little at a time until it’s just right.
“The secret to exceptional sourdough bread lies in the kneading process. Take your time and pay attention to the dough’s texture – it will tell you exactly what it needs.”
Fermentation and Proofing Guide
Making the perfect sourdough sandwich bread needs careful attention to fermentation and proofing. During bulk fermentation, your dough changes slowly. This is thanks to the yeasts and bacteria in your sourdough starter.
The bulk fermentation takes 10-12 hours. Keep the dough at 68-72°F (20-22°C). It should double in size, showing the yeast is working hard. Watch the dough closely and adjust the time based on your kitchen’s conditions to avoid over-proofing.
Once shaped, the dough goes into the final proofing stage. This lasts 2-3 hours. The dough should rise about 1 inch above the bread pan. Watch it closely, as the environment can affect the timing.
- Cooler kitchens may need longer times, while warmer ones speed it up.
- Adjust the times to avoid a dense, collapsed loaf.
Understanding bread fermentation and proofing helps you get the perfect rise and texture. Be patient and watch closely. Your hard work will pay off with a truly amazing loaf.

| Fermentation Stage | Duration | Temperature | Dough Behavior |
|---|---|---|---|
| Bulk Fermentation | 10-12 hours | 68-72°F (20-22°C) | Dough should double in size |
| Final Proof | 2-3 hours | Varies | Dough should rise 1 inch above pan |
“Patience and observation are the keys to mastering the art of sourdough bread fermentation and proofing.”
Shaping Your Sandwich Loaf
Making the perfect sandwich bread begins with shaping. After your sourdough dough ferments and proofs, it’s time to shape it. The right techniques are key for an even rise and a neat shape.
Step-by-Step Shaping Process
Start by placing the dough on a floured surface. Press it into a rectangle. Then, fold the sides towards the middle to make it tighter.
Roll the dough towards you to form a log. Pinch the seams to seal it. This makes the dough smooth and even.
Creating Surface Tension
To improve your loaf’s structure, create surface tension. Hold the dough with your hands and pull it towards you. This makes the surface smooth and tight.
Place the loaf, seam down, in a greased 9″ x 5″ pan. This helps it rise and bake evenly.
Learning these bread shaping techniques will help your sourdough bread become a beautiful sandwich loaf. It will have a consistent texture and shape, great for sandwiches and toast.
Baking Temperature and Timing
To get the perfect bread baking results, you need to control the oven temperature and baking time well. For your homemade sourdough bread, follow these guidelines. This will help you get a beautifully golden crust and a perfectly cooked interior.
First, preheat your oven to 450°F (232°C). This high heat helps the dough expand and gives it that signature sourdough oven spring. After placing the loaf in the oven, lower the temperature to 375°F (190°C) and bake for 45-50 minutes.
To get a crisp, crackly crust, try adding a few ice cubes to the oven floor or lightly spray the dough with water before baking. This adds steam to the oven. It’s key for that artisanal baking techniques look and texture.
Use a digital thermometer to check the bread’s internal temperature. The sourdough bread is done when it reaches 190°F (88°C). This makes sure the center is cooked through, with a tender, moist crumb.
| Step | Temperature | Time |
|---|---|---|
| Preheat Oven | 450°F (232°C) | – |
| Bake Loaf | 375°F (190°C) | 45-50 minutes |
| Internal Temperature | 190°F (88°C) | – |
By sticking to these temperature and timing guidelines, you’ll always get a perfectly baked sourdough bread. It’s sure to impress your family and friends.
Cooling and Storage Methods
Keeping your homemade sourdough bread fresh is key. After baking, let it cool in the pan for 10-15 minutes. This step helps the bread set right and prevents it from getting sticky when you slice it.
After cooling slightly, move the bread to a wire rack. It will take 1-2 hours to cool completely. Cutting into it too early can make it dense and gummy because the starches haven’t solidified yet.
Storage Solutions for Freshness
For up to 3 days, store your sourdough at room temperature in a bread bag, beeswax wrap, or a clean towel. This keeps the crust crisp and the inside soft. Don’t store it in the fridge, as it will stale faster.
To keep your bread longer, slice it and freeze the slices. Store them in a freezer-safe container or bag for months. Toasting frozen slices straight from the freezer gives them a fresh-baked taste.
| Storage Method | Duration |
|---|---|
| Room Temperature (Bread Bag, Beeswax Wrap, or Towel) | Up to 3 days |
| Freezer (Sliced and Frozen) | Several months |
By cooling and storing your sourdough bread right, you’ll enjoy its great taste and texture for longer. Follow these tips to make the most of your baking!
Troubleshooting Common Issues
Baking bread can be rewarding but tricky, especially with sourdough troubleshooting. Starting your bread making journey, you might face common problems. But, with a bit of guidance, you can solve them easily.
One common issue is over-proofing, where dough rises too much. This results in a dense, flat loaf. But, you can still make delicious focaccia from it. On the other hand, under-proofing makes the bread tight and dense. Just extend the proofing time for your next batch.
Another problem is an inconsistent crumb structure. This often comes from wrong shaping or fermentation. Try adjusting your ingredients and methods for your kitchen’s environment. Changing flour types or hydration levels might give you the airy crumb you want.
Bread baking is an art needing patience and practice. With each loaf, you learn and solve problems. Keep experimenting and adapting to achieve sourdough success.
“The more you know, the more you can create. And if you can create a little, you can create a lot.” – Maya Angelou
Conclusion
Making sourdough sandwich bread at home is a rewarding journey. It gives you a delicious, nutritious loaf. With practice and patience, you’ll get to know the dough well. You can then adjust the recipe to your liking.
Homemade sourdough sandwich bread is a healthier choice than store-bought. It has better flavor and texture. This makes it a great option for sandwiches.
Creating your own artisan bread is fulfilling and fun. You can try different variations and perfect your recipe. This guide will help you make amazing sourdough sandwich bread that everyone will love.
The joy of baking is in the journey, not just the end result. Enjoy the process, learn from any challenges, and be proud of your creations. With each loaf, you’ll get better and appreciate sourdough bread baking more.

